
Store owners handling launches
You have product samples and a launch date, but limited time to film. Build a short introduction around the photos already approved for the item.
A launch needs more than a catalog photo. With VidMage, you can turn that photo into an opening clip, remove background clutter, and prepare campaign settings while keeping the real SKU details in view.
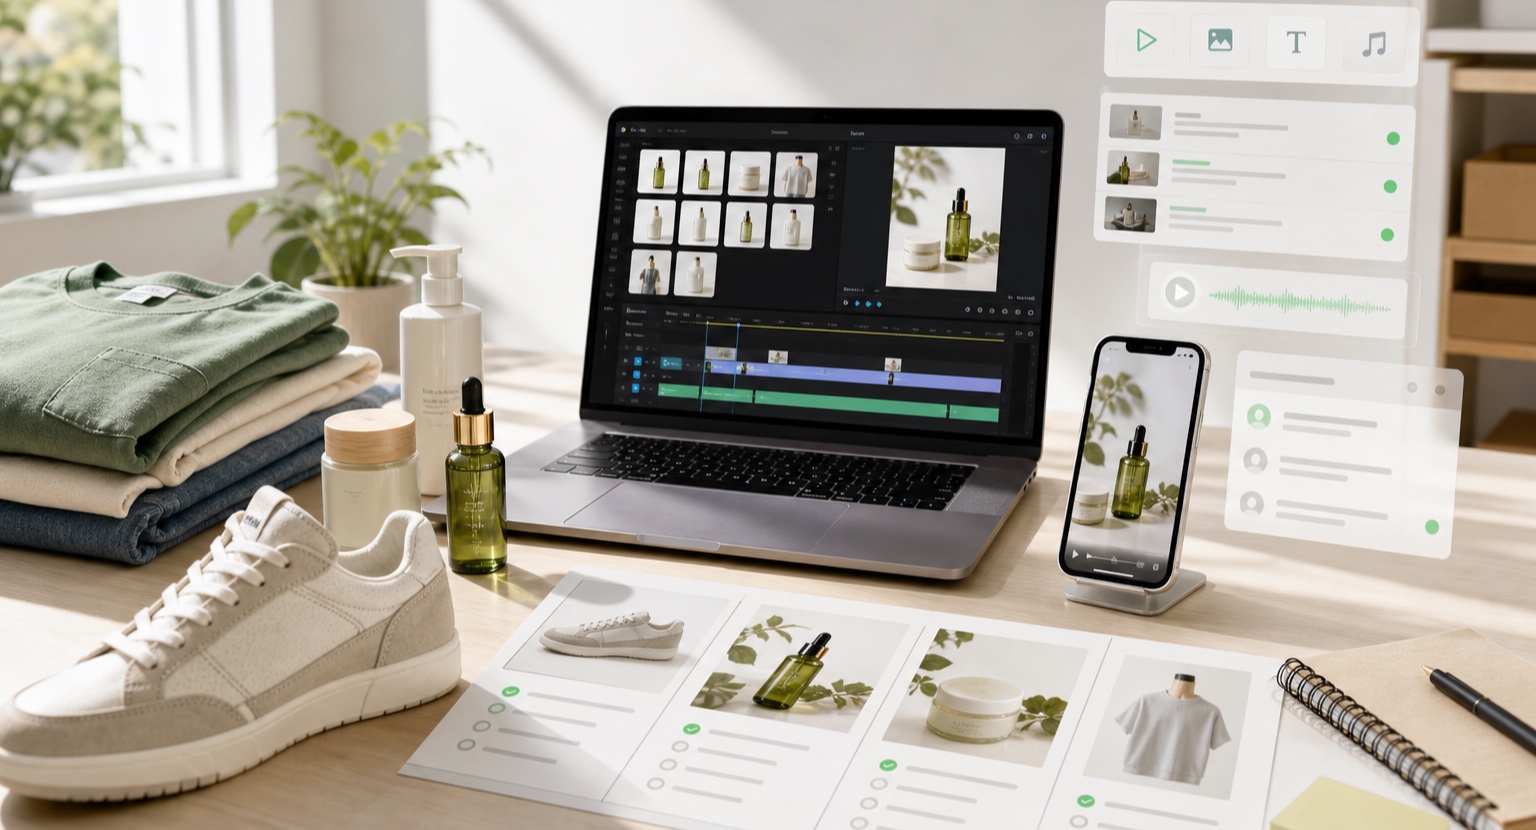
Match the task to the person handling the SKU, campaign layout, collection story, or launch handoff.
You have product samples and a launch date, but limited time to film. Build a short introduction around the photos already approved for the item.
Your demonstration shows how the item works. Add an opening setting or photo-based clip without asking generated footage to prove product performance.
Your listing image includes a distracting prop or cable. Clean the area around the item, then check the edited photo against the original SKU.
Several products need one collection story. Plan an opening scene that connects the range before the video moves into individual product shots.
Email banners and social cards need different layouts. Generate a backdrop with space for the real product cutout, headline, price, and offer.
The store, email, and social teams share the same source photos. Keep files labeled by SKU and campaign so each channel uses the correct approved version.
Four jobs that come up between the product shoot and the campaign going live.

A serum launch opens on the bottle, then cuts to the actual texture and application.
Store owners handling launches
The launch email and product page are ready, but the social announcement still needs an opening shot. You have an approved bottle photo and real demonstration footage, with no new shoot booked.
Upload the approved photo to VidMage’s Image to Video and request a slow camera move. Compare labels, cap shape, and color with the source. Place the accepted clip before your real demonstration in the launch edit.
The launch gets a moving introduction from an existing SKU asset, while the real demonstration still shows customers what the product does.

An evening-room opening leads into the real lamps and cushions in an autumn collection.
Collection merchandisers
Your homeware launch includes lamps, cushions, and small tables. Individual product clips show each item, but the collection video jumps between them without explaining the room or mood they share.
In VidMage’s Text to Video, describe a quiet evening room and a gentle camera move. Use that scene as the opening, then introduce the actual collection through your own product footage and item names.
One setting gives the collection an understandable theme before viewers see the separate products, without inventing features or treating generated furnishings as items for sale.

A ceramics sale uses a stone surface and soft light, with the real vase photo and offer added separately.
Campaign designers
A catalog photo works on the product page but leaves no room for a sale headline. The email banner also needs a wider layout than the square social card.
Describe a background in VidMage’s AI Image Generator, including the empty area your layout needs. Download a suitable version, then place the original product cutout, exact offer text, and brand graphics in your design app.
The campaign gains a setting planned around its layout, while prices, labels, and the product image remain editable without regenerating the entire banner.

A catalog editor removes a stray cable beside the product and checks the edited image against the source.
Catalog content teams
You selected a product image after the shoot and noticed a loose cable or stray styling prop beside the item. Cropping it out would also cut into the product.
Open the original photo in VidMage’s Object Remover and brush over the unwanted background object. Review the repaired area and product edges at full size before exporting the image for the correct SKU.
You can evaluate a cleaner listing image from the existing shoot while keeping the product’s shape, included accessories, and visible condition part of the review.
Organize the work by SKU and placement before choosing an AI tool. A product page, collection video, and sale banner need different assets.
Gather approved item photos, real demonstrations, and current product details. Note where each asset will appear and whether it needs motion, a backdrop, or cleanup.
Animate a product photo, remove background clutter, or generate a collection scene. For a banner, plan empty space for the product and offer before generating the backdrop.
Check shape, color, labels, accessories, and the edges around any removed object. Reject changes that could give buyers the wrong idea about the item.
Finish layouts and edits in compatible software. Name files by SKU, campaign, and placement, then confirm prices and availability before uploading them to your channels.
Start with the asset your listing or campaign needs, then use the matching tool.
| Asset needed | Your input | VidMage tool | Output |
|---|---|---|---|
| SKU launch opening | Approved item photo + restrained motion | Image to Video | Clip to precede real product footage |
| Distracting listing prop | Original photo + brushed background area | Object Remover | Cleaned image to compare with the SKU |
| Collection introduction | Range theme + scene and camera description | Text to Video | Setting for the collection edit |
| Email or social backdrop | Layout needs + background description | AI Image Generator | Backdrop for original product cutouts |
| Next shoot direction | Owned setup photo + lighting notes | Image to Image | Concept for the photography brief |
Bring the downloaded file into your design or video editor beside the original product photography. Add exact copy and brand assets there, then export a separate version for each placement.
Keep the SKU, source photo, and accepted edit together. Review the final store image and social crop separately because important details can be lost in either layout.
Store the approved photo and item details together.
Add the selected AI asset, real product image, and current offer.
Confirm the crop, labels, price, and product match after upload.
Use generated material to support the launch. Let accurate photos and recordings explain what the customer will receive.
Start with the missing asset that blocks the launch: an opening clip, a cleaner listing photo, or a campaign backdrop. VidMage can help with that part while your catalog photos and real demonstrations carry the product details.
Upload the approved photo to Image to Video and describe a restrained move. Compare the output with the original SKU before adding it to an announcement. Use real footage for handling, texture, and product demonstrations.
Inspect the area you brushed, the product edges, reflections, and any included accessories. Object removal should clear background clutter, not hide damage or change what the buyer receives. Keep the original file for comparison.
Generate the backdrop separately. Add the original product photo, item name, price, and offer text in your design app. This also lets you update a price or promotion without generating a new background.
Treat generated rooms and settings as campaign scenery. Show the actual collection with your own product photos or video. Generated objects can differ from the items for sale, even when your prompt describes them closely.
List the clips and images each placement needs, then check the tool’s credit cost for the model and settings you choose. Keep accepted backgrounds and source photos organized so you can reuse them in your own layouts.
Check plans and creditsConfirm your team’s launch rules before uploading confidential samples. VidMage’s Web media policy deletes uploaded and processed photos and videos within two hours, and does not use uploads or prompts for model training. Keep approved originals and selected downloads in your own files.
Review the media privacy policyStart with an approved SKU photo or the empty background your campaign layout needs.