
Review & tutorial editors
Cover a cut between spoken lines with a relevant object or scene. Keep the real demonstration visible when the viewer needs to inspect the product or technique.
Your rough cut is nearly ready, but a jump cut, missing location shot, or soft clip interrupts the sequence. Create and review the specific insert in VidMage, then place it on your existing timeline.
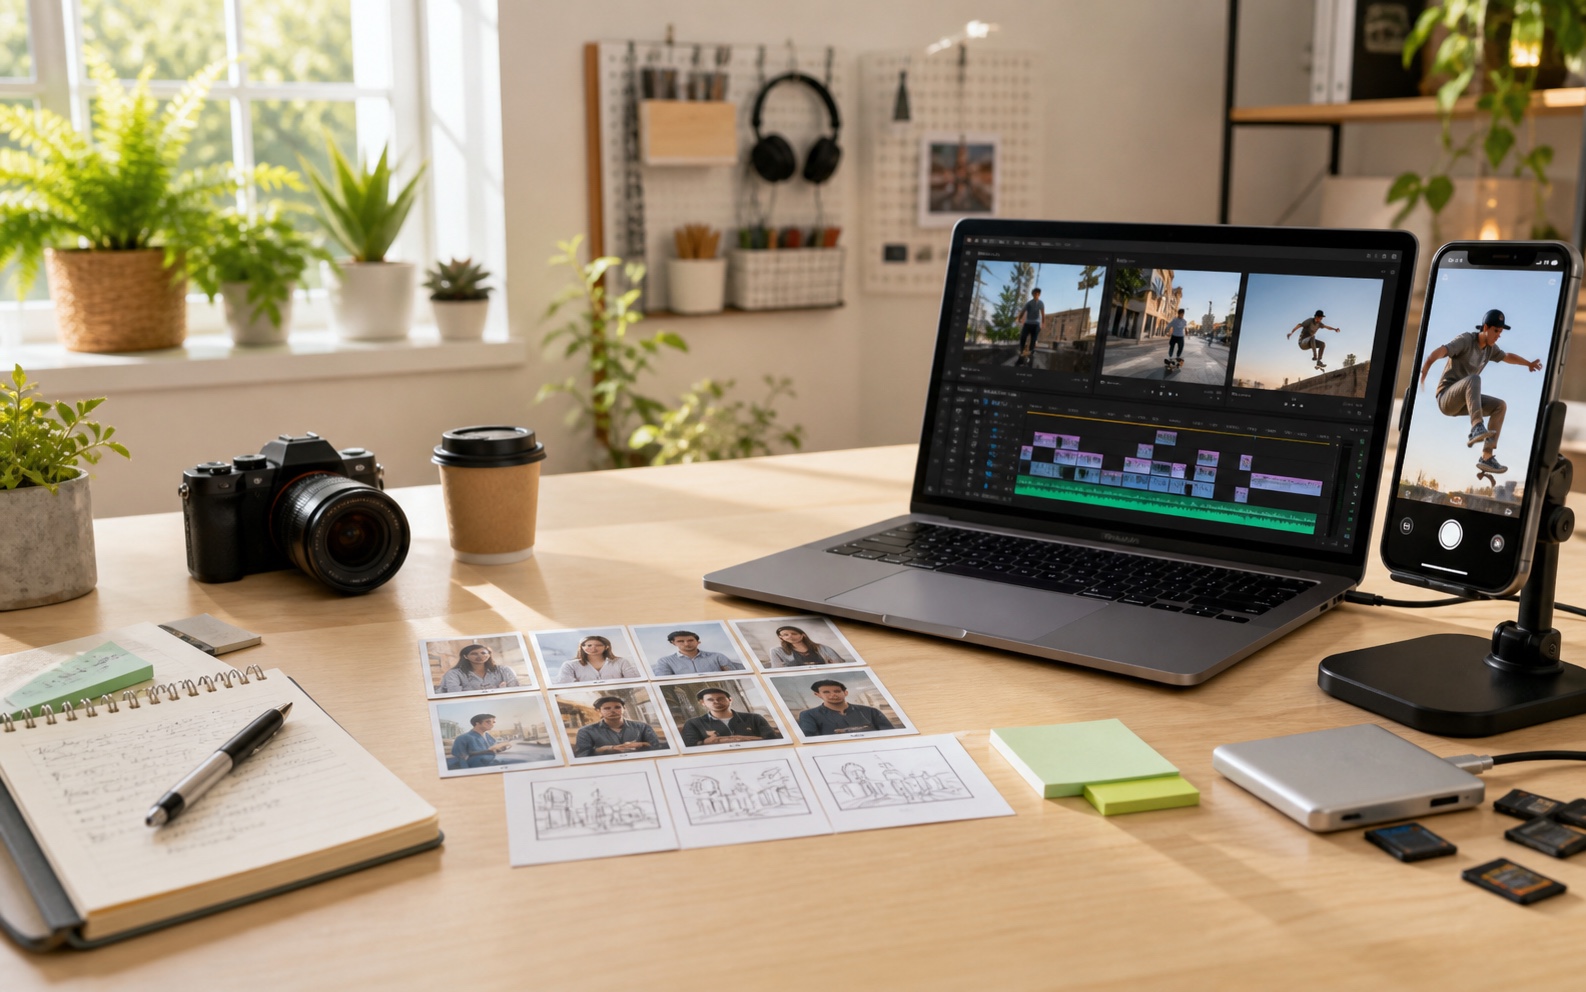
You already have a message and some footage. Find the specific insert that makes the sequence easier to watch.
Cover a cut between spoken lines with a relevant object or scene. Keep the real demonstration visible when the viewer needs to inspect the product or technique.
Keep your strongest narration take even when you change position between sentences. A short cutaway can cover the visual jump while your recorded voice continues.
Use photos from your own trip when the video folder has no view of a location. Choose a still with room to crop around the subject.
Connect two recorded moments with an establishing shot. Give viewers the setting or change of time they need to follow the next cut.
Add an atmosphere shot between a project introduction and the real making process. Keep your original close-ups for steps viewers might copy.
Build a labeled library of approved inserts and transitions. Save each chosen file with its crop and intended use so another editor can find it.
Work from a rough cut, an archive photo, or an original clip rather than starting the whole video again.
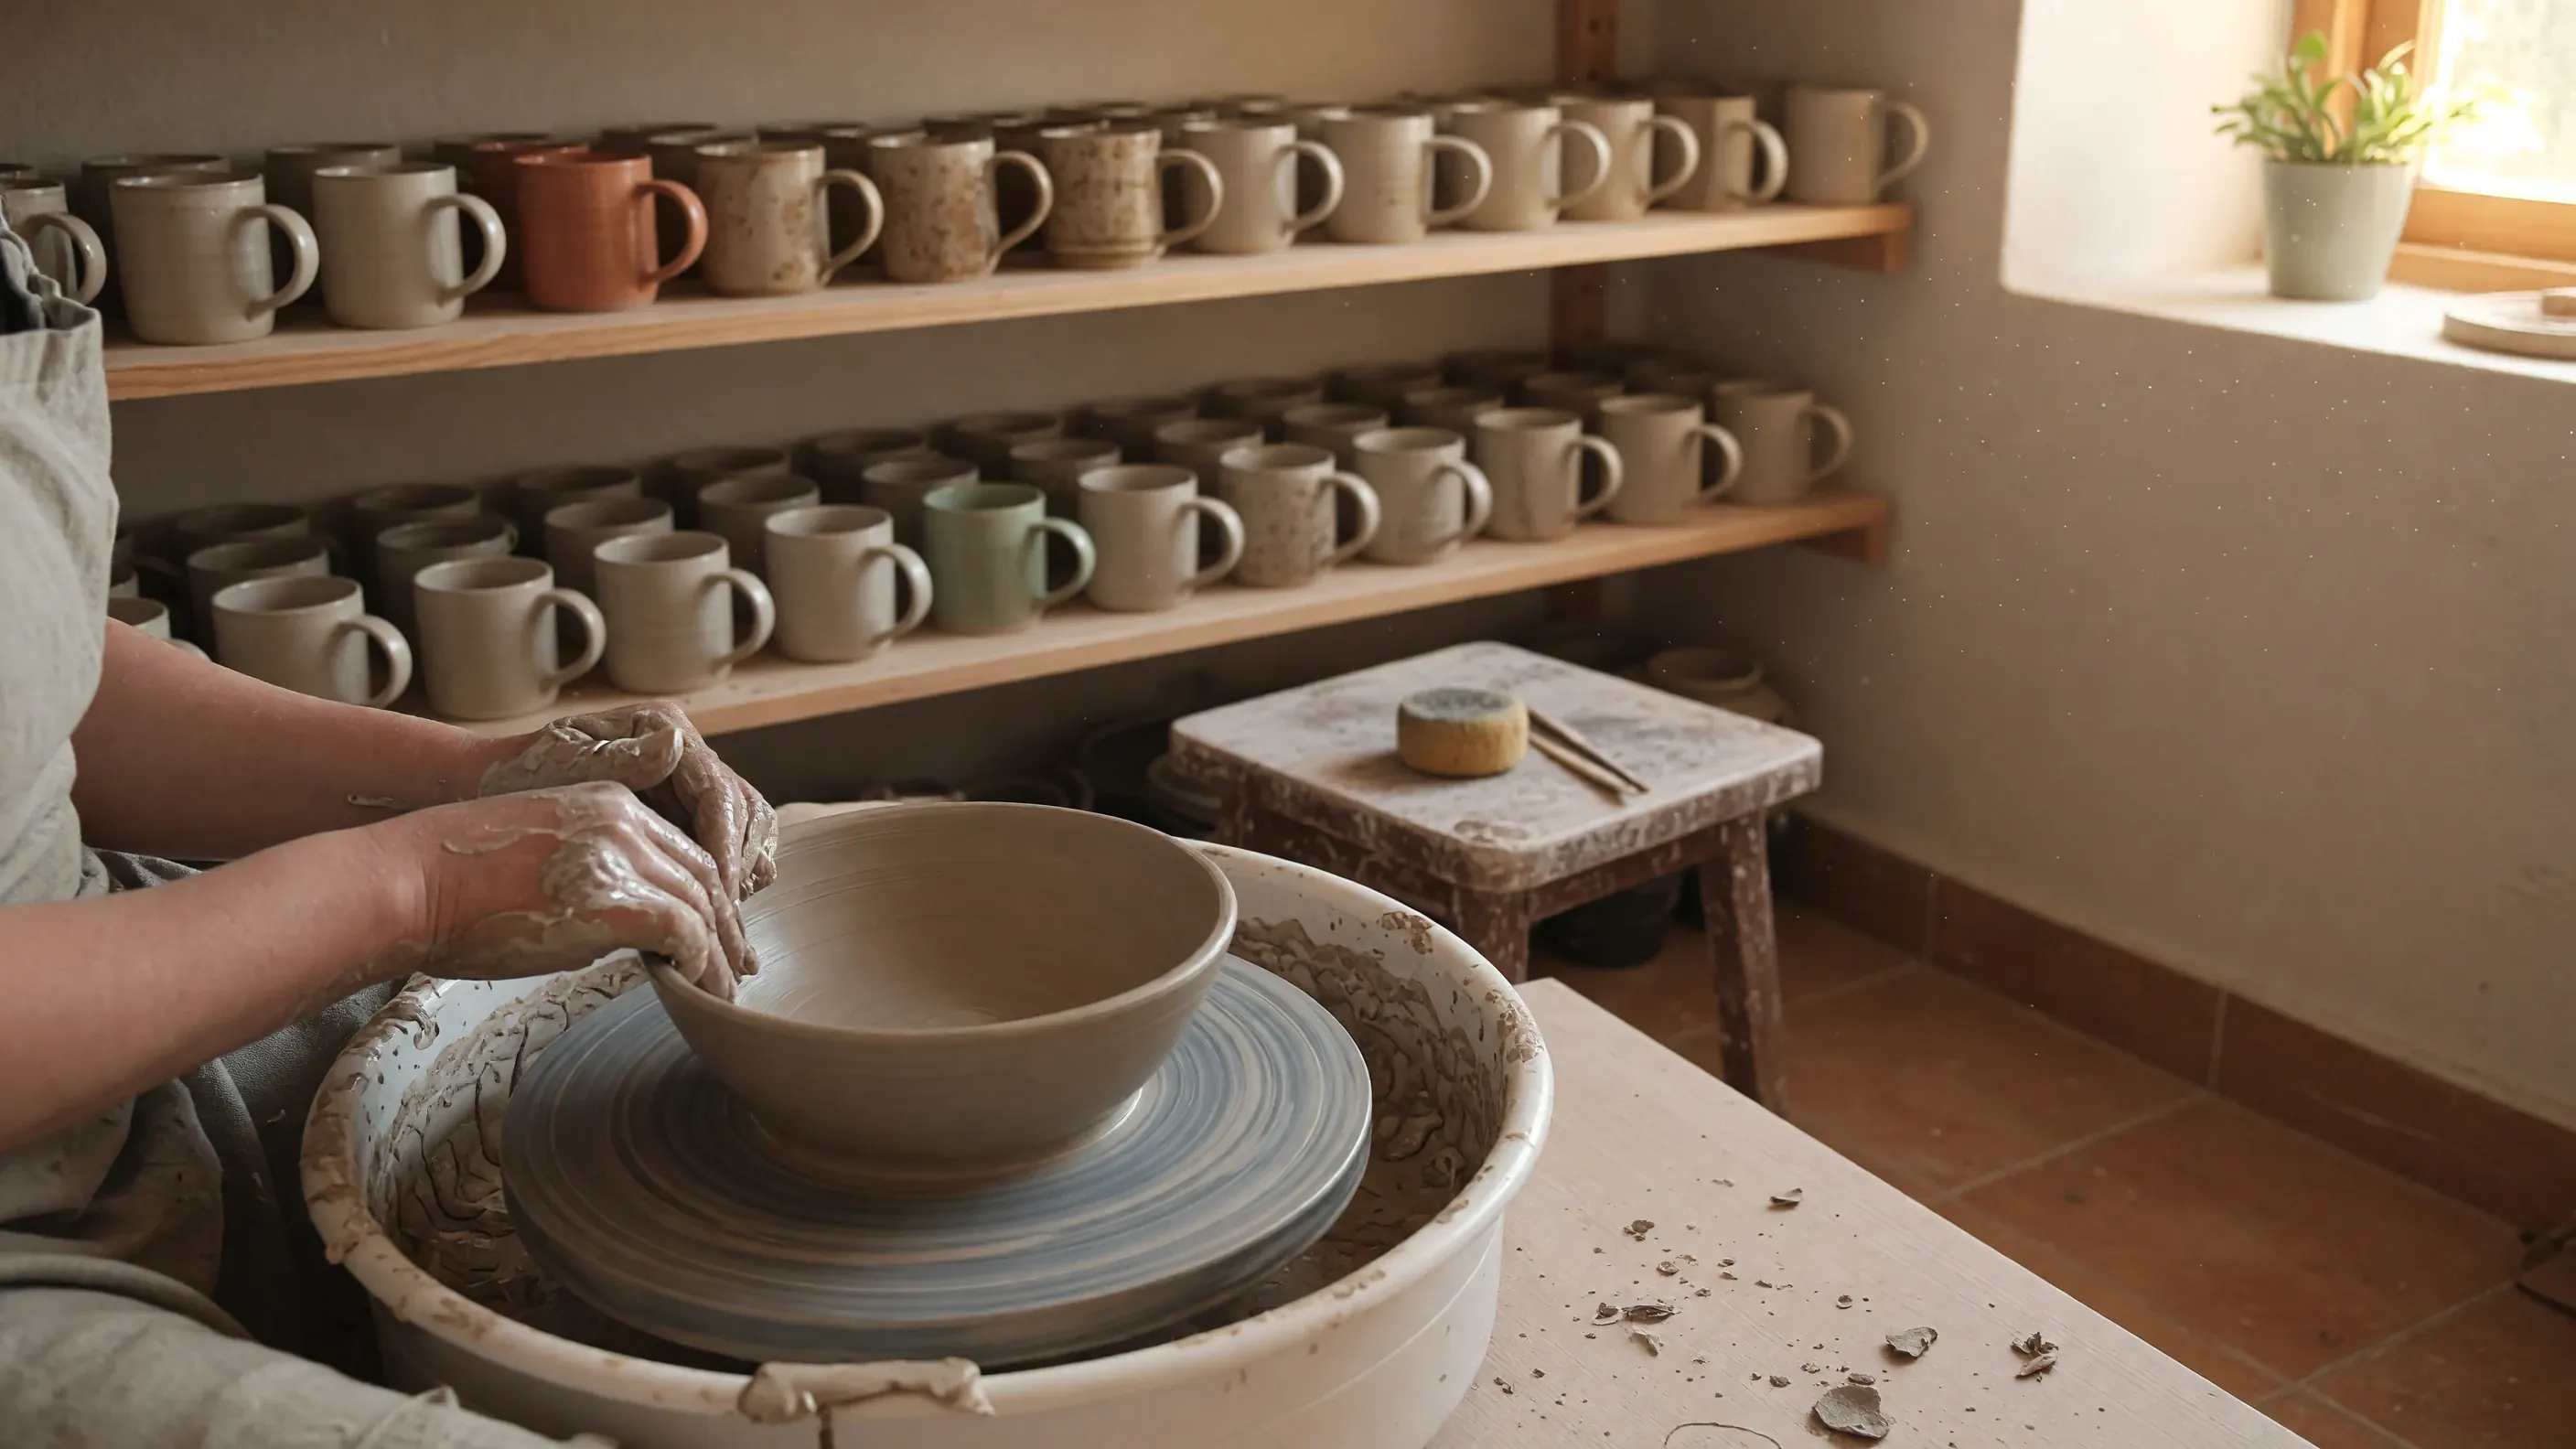
A pottery scene covers the cut between two lines about learning a new hobby.
Solo talking-head creators
You have two good spoken takes, but your hands and posture change at the cut. Re-recording would mean setting up the camera again for a sentence that already sounds right.
In VidMage’s Text to Video, describe a cutaway tied to that sentence, such as a pottery wheel during a story about practicing a craft. Trim the downloaded shot over the picture cut while keeping your original voice track.
Keep the useful narration from both takes and cover the distracting visual change with a shot that adds context to the sentence.
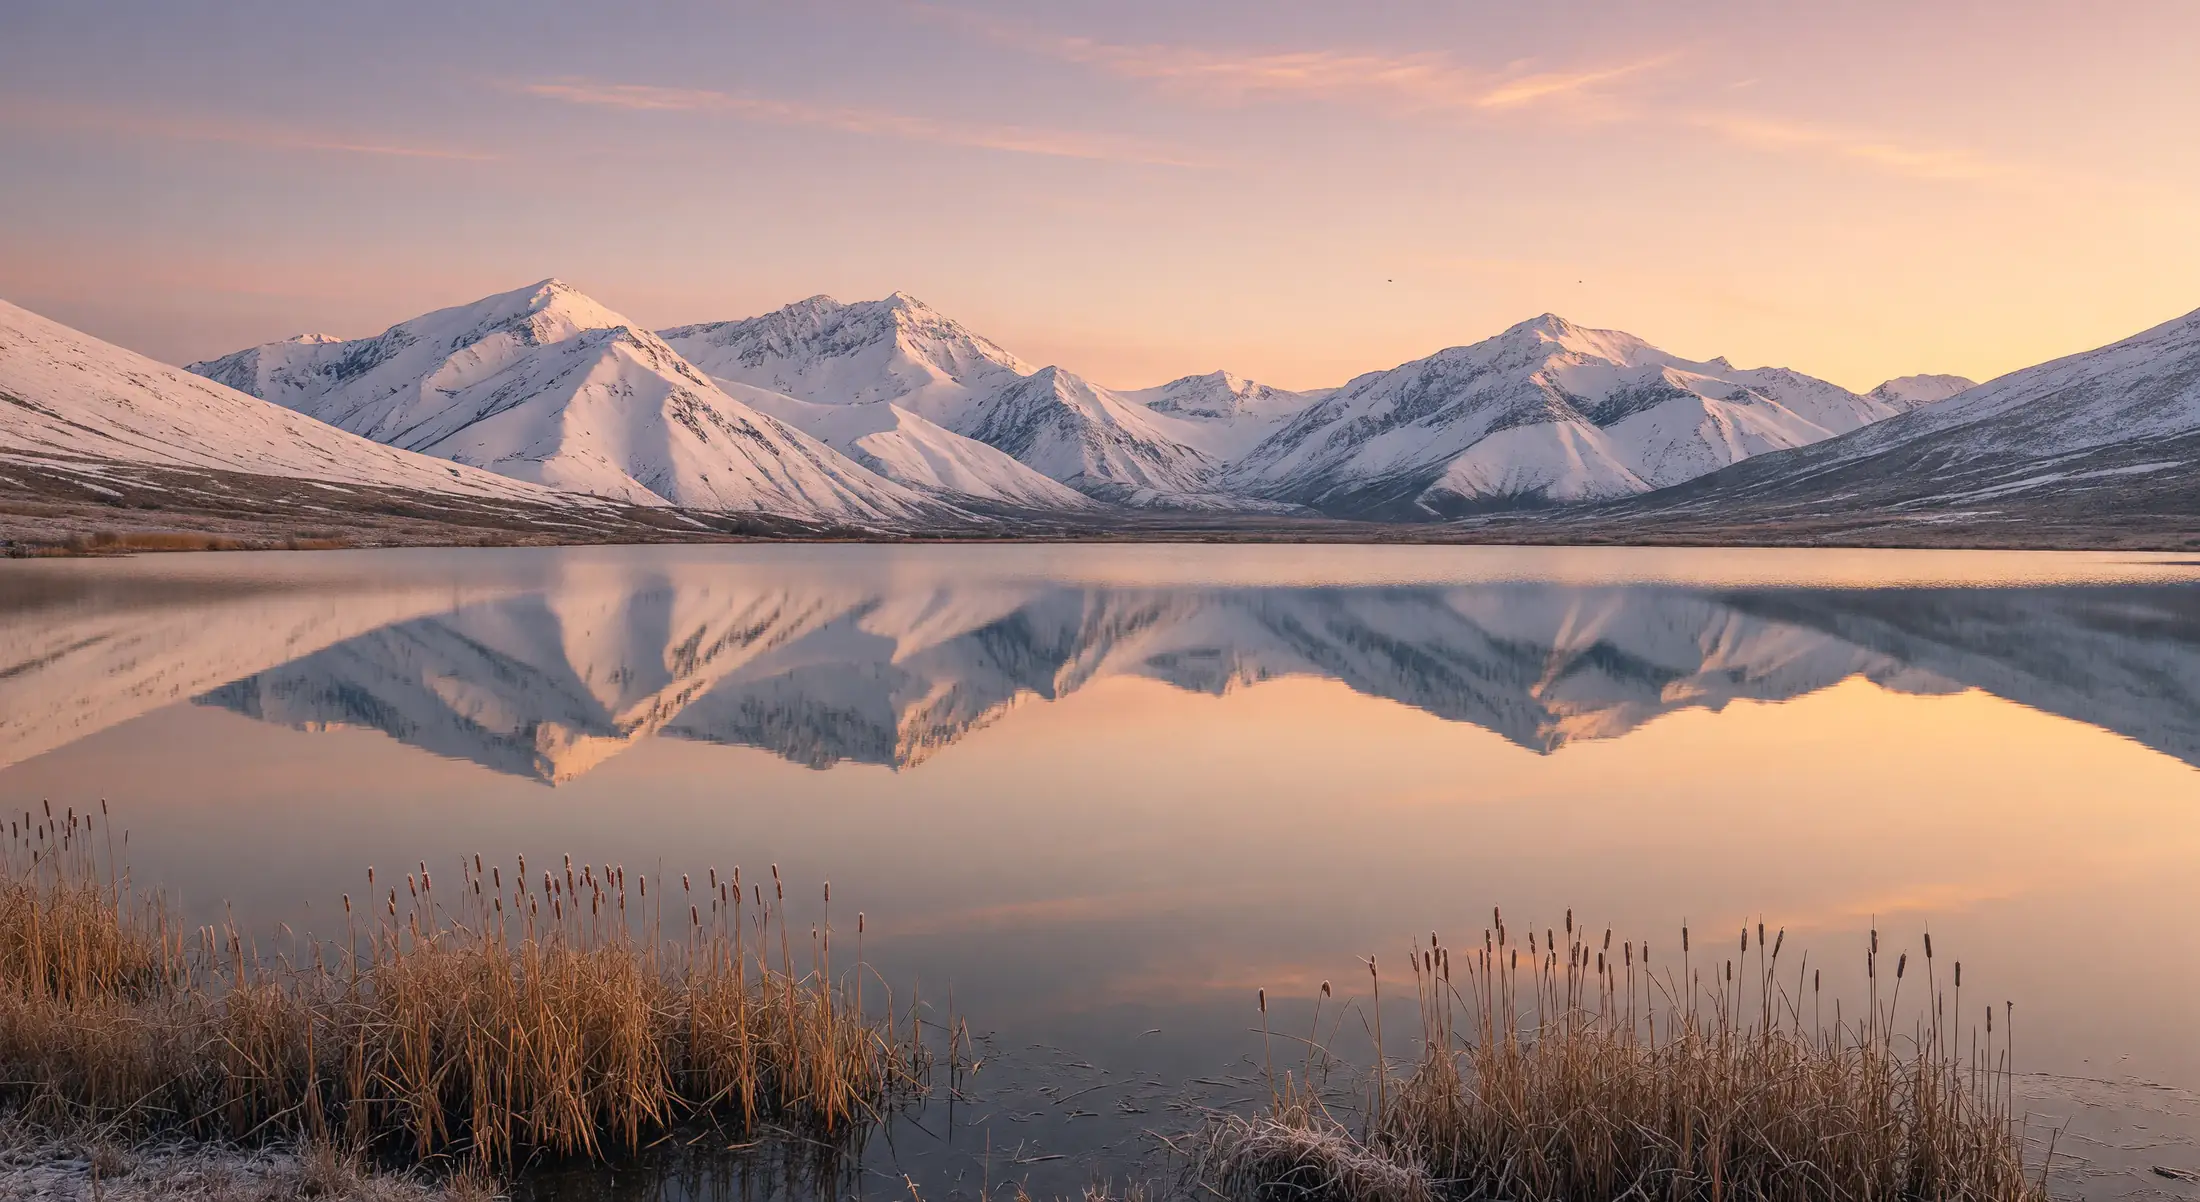
A mountain lake photo introduces the destination before the edit cuts to recorded hiking footage.
Travel recap editors
Your travel edit jumps from a car journey to a close-up at the destination. The only wide view is a photo you took on the same trip, so the change of location feels abrupt.
Bring that photo into VidMage’s Image to Video and request a slow camera move. Check the landscape for unwanted changes, then place the selected clip before the destination footage to establish where the next scene takes place.
Use an existing trip photo to make the location change clear without presenting a newly invented place as somewhere you visited.
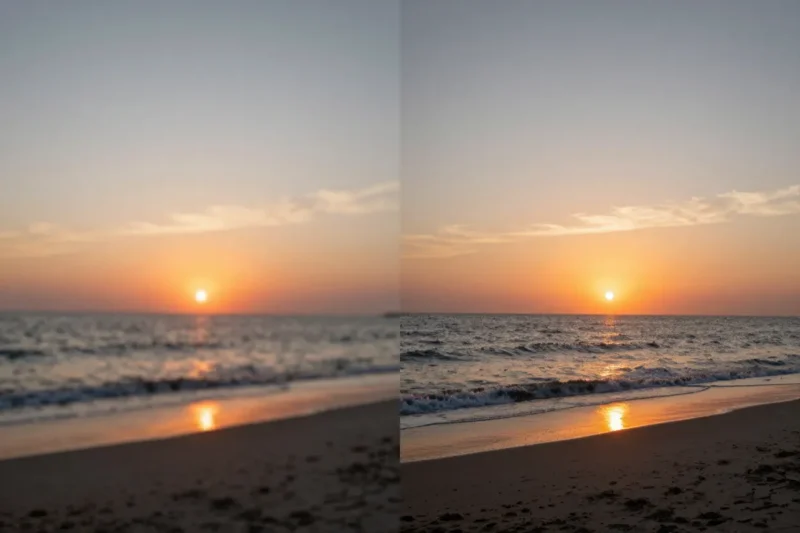
A sunset insert is compared with its original before it is used between two travel shots.
Review & recap editors
A clip captures the moment you need, but it looks softer than the surrounding footage. You have the original file and the rough cut, so you can judge a processed version in context.
Upload the original to VidMage’s Video Enhancer. Compare the result with the source at your intended export size, especially faces, edges, and small text. Replace the timeline clip only if the processed version improves that specific shot.
Keep the editorial value of the original moment while making an informed choice between the source clip, the processed version, or a shorter cut.
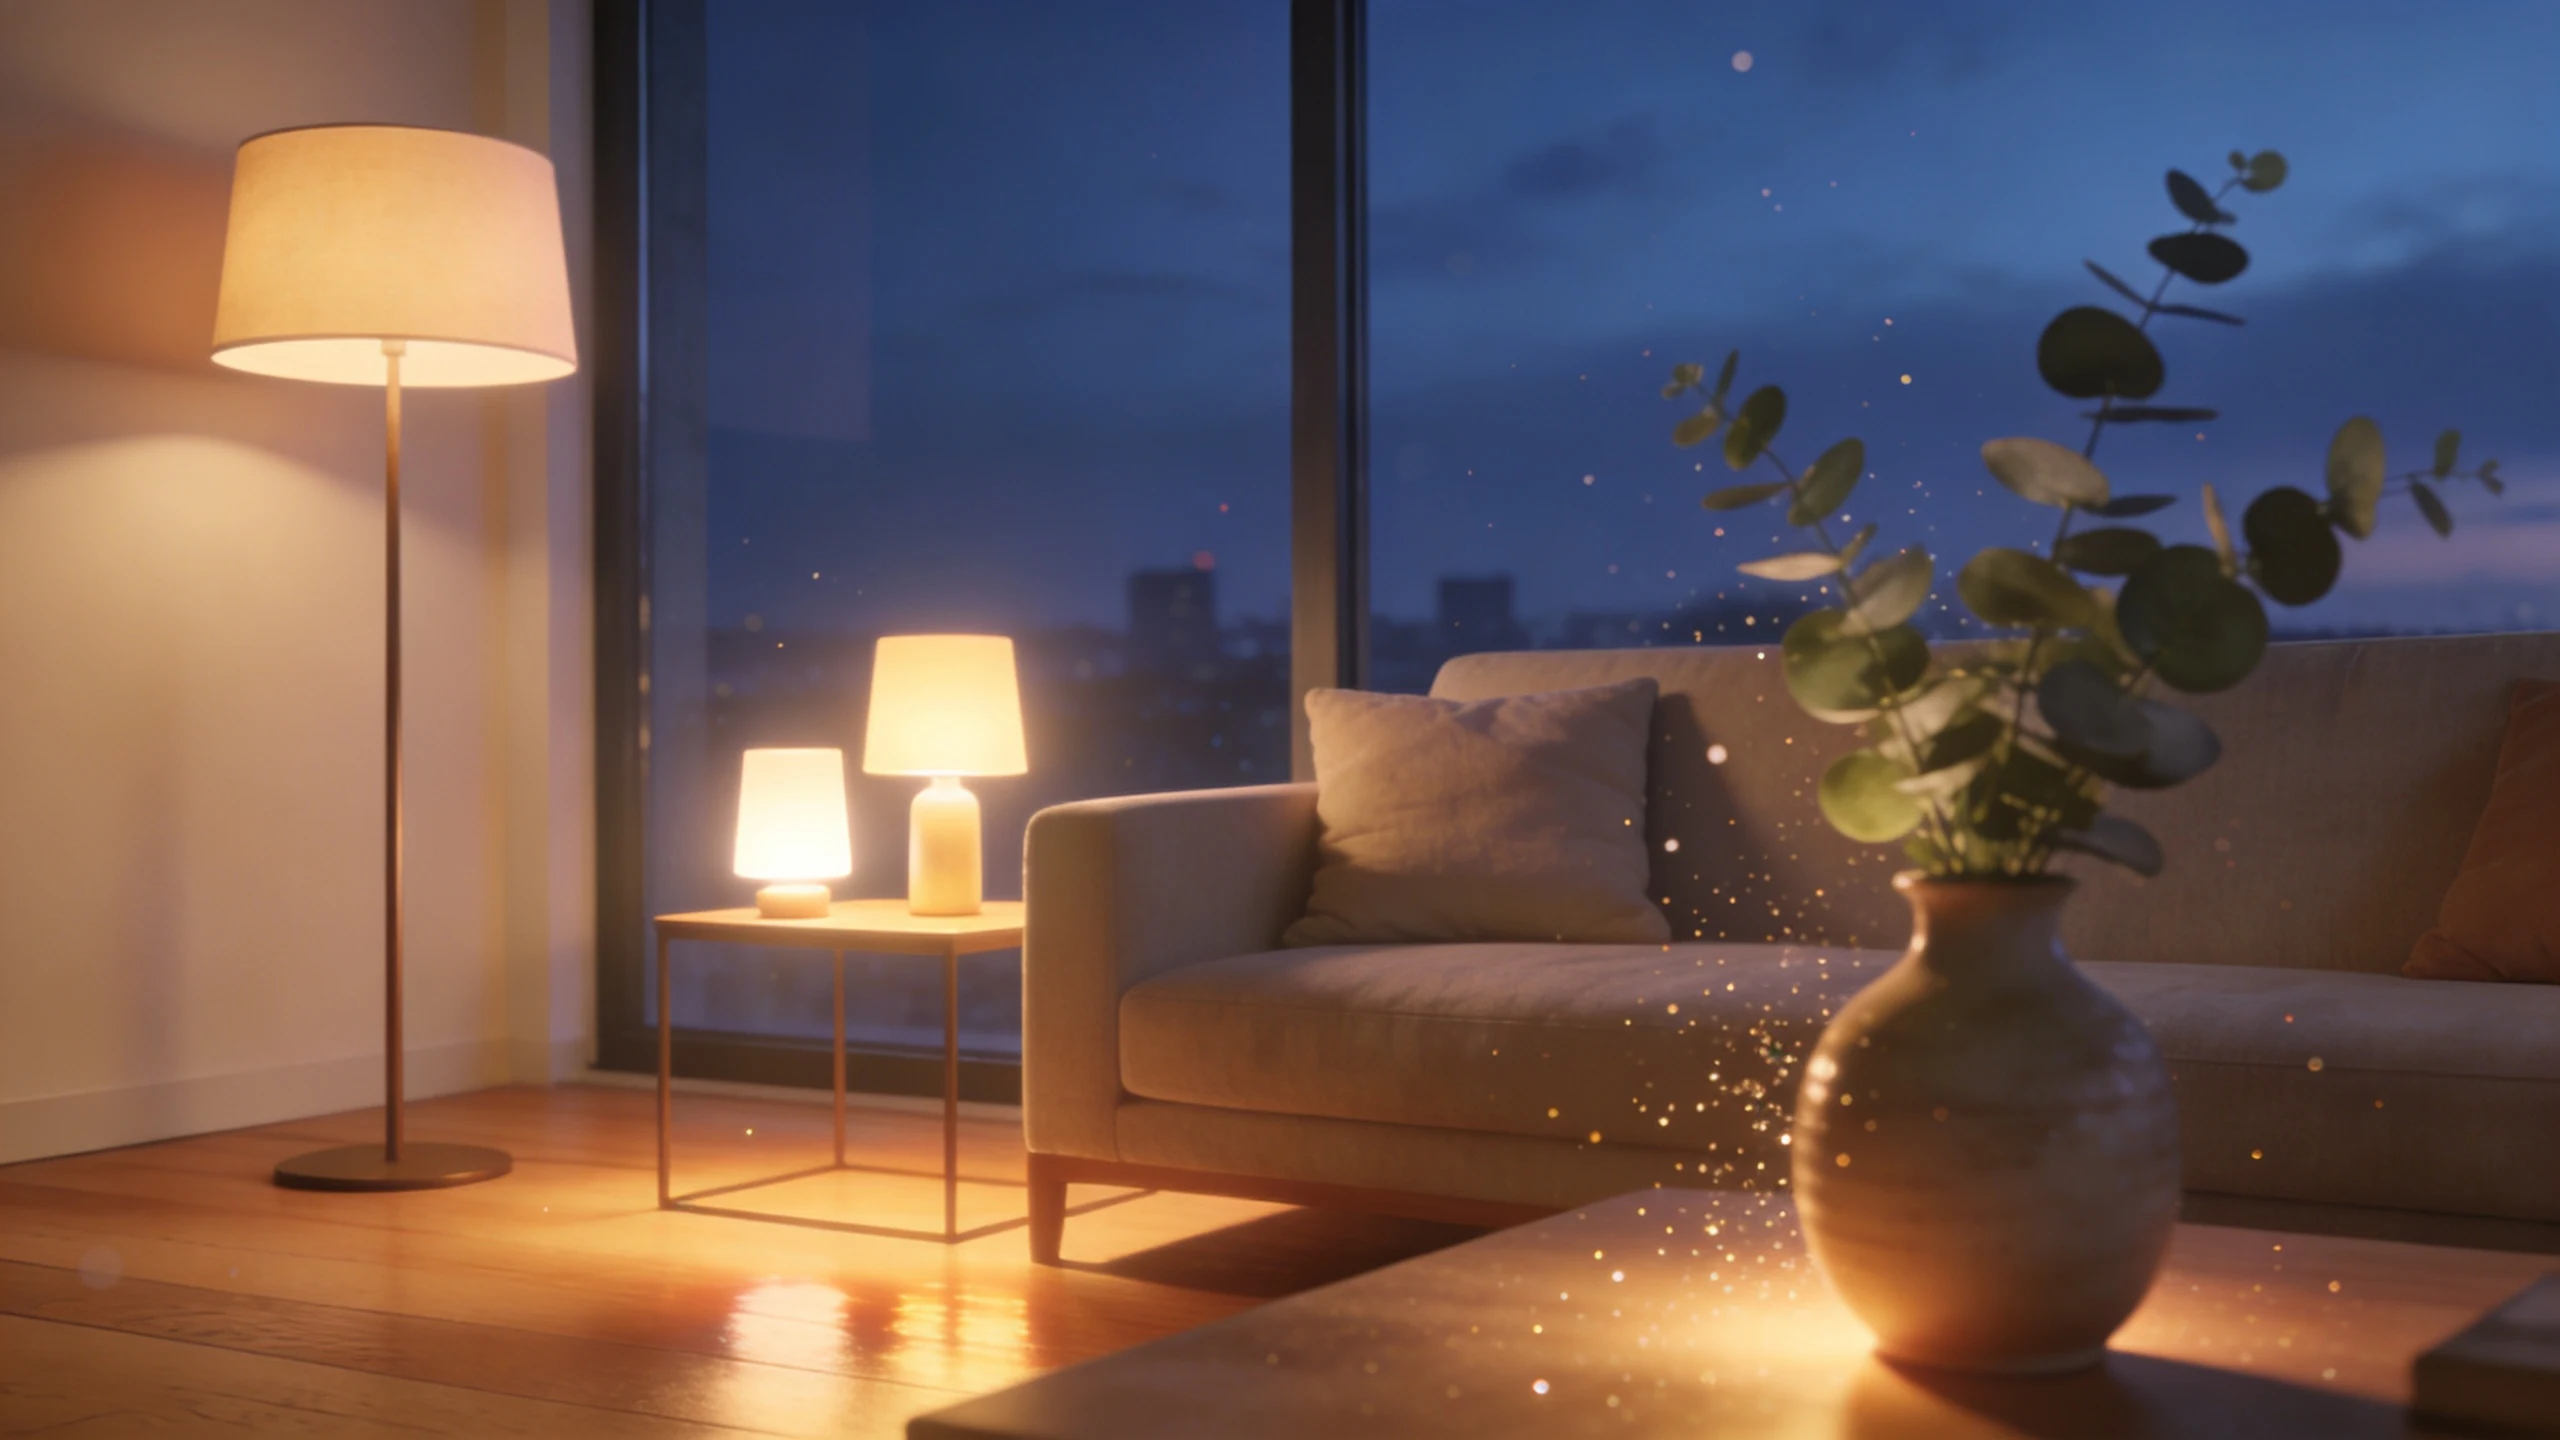
The same quiet room insert separates the opening question from the next section in a weekly design series.
Small editing teams
Your recurring series often moves from an introduction to a new topic. Reusing a random clip feels unrelated, while creating a fresh transition for every episode adds another task to the edit.
Describe a neutral scene in VidMage’s Text to Video, such as a slow move through a quiet room. Select one clip, add any series title in your editor, and save the finished transition with a clear filename and crop.
Build a reusable bridge between sections, with the title and timing controlled in your editor instead of regenerated for each post.
Start from the rough cut. Generate only the insert that solves a visible problem on the timeline.
Find the exact cut, missing location, or soft shot. Note the available screen time, the spoken line underneath it, and the framing of the shots on either side.
Use your original photo for a location insert or your original clip for enhancement. Write a scene prompt when the edit needs an illustrative shot you did not record.
Generate in the matching VidMage tool and download your preferred result. Place it on the timeline to judge subject size, motion, color, and timing against the neighboring shots.
Trim the insert, check the final crop, and export a preview. Save approved reusable assets with a descriptive name so future edits can use the same chosen file.
Each task begins with a different source. Keep the original files so you can compare the result inside your project.
| Editing gap | Your input | VidMage tool | Output |
|---|---|---|---|
| Mask a picture jump under continuous narration | Spoken line + relevant cutaway description | Text to Video | Insert to place above the voice track |
| Establish a location missing from the video folder | Owned trip photo + restrained camera move | Image to Video | Moving view of the source composition |
| Compare a soft shot with a processed version | Original video file | Video Enhancer | Version to review beside the source |
| Reuse a bridge between recurring sections | Neutral setting + simple camera direction | Text to Video | Selected clip for your asset library |
| Plan an insert before generating its motion | Subject + composition + crop requirements | AI Image Generator | Still reference for a proposed shot |
A clip that looks good on its own can still interrupt the edit. Import the VidMage download, place it between its neighboring shots, and play the sequence with the original audio. Compare the subject size, camera movement, color, and length before keeping it.
Use a file format supported by your editor. Store the approved download with the project instead of relying on the generation page as an archive.
Put the visual over the gap or replace the selected shot. Leave the source clip available for comparison.
Listen to the full sentence and watch both transitions. Trim the insert so it ends when its job is done.
Keep a clean file without temporary captions when the clip could work in another edit.
Use AI for supporting inserts and visual transitions. Keep original recordings wherever viewers need to inspect a real action or result.
Read the spoken line at the cut and name the object, place, or action it mentions. Generate a related scene, then cover only the picture edit. Keep the original voice track continuous so the sentence still sounds natural.
Yes. Start with a photo from the trip and describe a restrained camera move in Image to Video. Compare the landscape with the source before placing the clip between your recorded scenes.
Match the energy of the surrounding shots. A short spoken explanation may need only a gentle camera move. Test the insert on the timeline and shorten it if the movement distracts from the point.
Do not assume enhancement will recover details the source never captured. Compare the result with the original at the intended viewing size. Keep the source or shorten the shot when processing changes faces, labels, or textures.
Explore Video EnhancerSave the downloaded clip in your asset library and use that file when the same transition fits another post. Keep titles and captions editable in your own project rather than embedding a new message into each generation.
Select the closest supported aspect ratio in the VidMage tool. After downloading, use a compatible editor to set the exact crop, preserve your voiceover, balance audio, and trim the insert to the available gap.
Keep original recordings and chosen downloads in your own storage. VidMage deletes uploaded and processed Web photos and videos within two hours, and does not use your uploads, prompts, or generated media for AI model training.
Read media retention detailsChoose one timeline gap. Animate a source photo or describe the cutaway that belongs under the next spoken line.